Effective Floor Marking Circles Ideas for Safety
Floor marking is essential for creating a safe, organized, and efficient workplace. Among the many shapes used for industrial visuals, Floor Marking Circles are a powerful yet often overlooked solution. Whether it’s identifying hazard zones, designating storage areas, or supporting 5S systems, circular markings offer clarity and precision.
In this post, we’ll explore practical and creative ways to implement floor marking circles, offer professional tips, and highlight trusted products from Archford.
What Are Floor Marking Circles?
Floor Marking Circles are adhesive shapes used to indicate specific zones or operational cues on facility floors. Available in various colors and sizes, they are perfect for organizing high-traffic areas, guiding employees, or separating dangerous zones.
At Archford, you'll find premium-quality Floor Marking Circles designed for industrial durability. Whether for warehouse layouts or manufacturing floors, they offer a neat, consistent way to improve safety.
Why Floor Marking Circles Matter in Safety
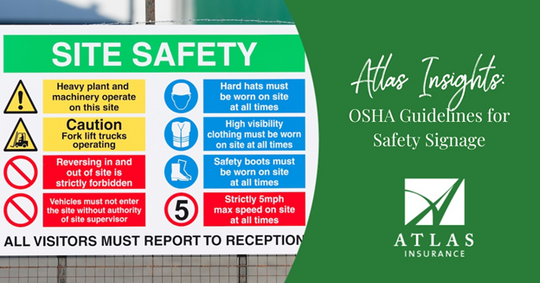
Floor markings offer immediate visual communication, which helps reduce workplace accidents. Floor marking circles can serve as:
Hazard alerts – Use red or orange to indicate danger zones.
Equipment locations – Show where bins, carts, or machinery should be placed.
Safe zones – Mark emergency exits or assembly points.
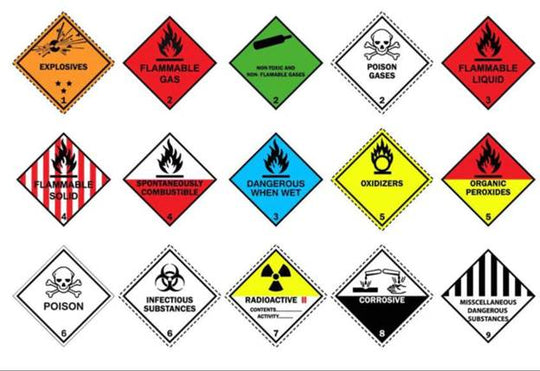
They also complement hazard floor markings, enhancing visibility and encouraging compliance with safety protocols.
Creative Applications in Industrial Settings
Let’s explore a few smart ways to use circle floor marking solutions in your facility:
Machine staging areas – Mark precise locations for tools or movable equipment.
Maintenance zones – Identify where only trained personnel can enter.
Pedestrian guidance – Place circles as stepping guides through work zones.
These simple applications significantly enhance visual communication in busy environments.
Floor Marking Circles for 5S Implementation
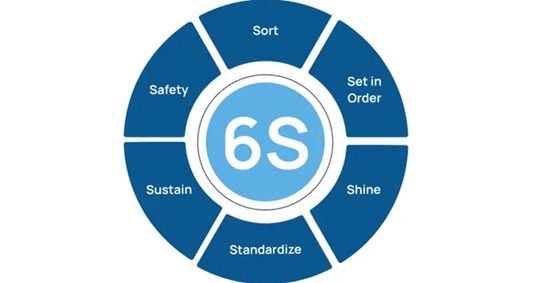
In a 5S workplace—Sort, Set in order, Shine, Standardize, Sustain—floor markings play a vital role. Circles are especially useful in:
Sort: Designating discard or storage zones.
Set in order: Highlighting positions for tools and bins.
Standardize: Ensuring a uniform visual system across all departments.
By including 5S floor marking guide principles, you establish consistency and accountability.
Choosing the Right Size and Color
Picking the right size and color improves usability:
Large circles for high-traffic or open spaces.
Small circles for tight areas or individual item placements.
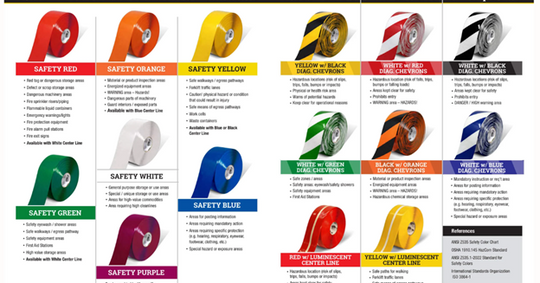
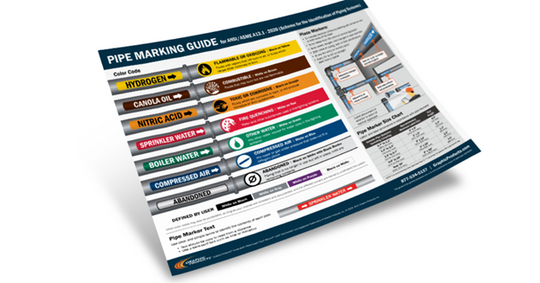
Color codes like red (danger), green (safe), yellow (caution), or blue (info) help users instantly understand the space.
If you’re unsure, Archford's expert team can recommend ideal options based on your space and usage type.
Installation Tips for Maximum Durability
To get the most from your circles:
Clean thoroughly – Dust or oil can weaken adhesion.
Ensure dryness – Moisture prevents a strong bond.
Apply firmly – Smooth out air bubbles during application.
Let it rest – Avoid heavy traffic for 24 hours after installation.
Alternatively, use floor marking paint for permanent or outdoor applications. Archford also stocks heavy-duty solutions suitable for all surface types.
Archford’s Premium Floor Marking Solutions
Archford is one of Australia’s trusted names in workplace safety and organization. Their Floor Marking Circles are made for durability, high visibility, and effortless application. Whether you're revamping your warehouse, factory, or retail floor, Archford offers reliable products tailored to industrial needs.
Need more than just circles? Archford also stocks corner markers, T-shapes, tapes, and complete floor marking solutions to build a professional, OSHA-compliant layout.
Bonus: Fresh Floor Marking Ideas to Try
Traffic simulation: Use a mix of circles and arrows to simulate lanes for forklifts.
Waiting zone dots: Perfect for customer service or staff gathering zones.
Training zones: Designate areas for staff training using color-coded circles.
These not only organize space but also enhance learning and navigation within your facility.
Discover Innovative Floor Marking Ideas for Efficient Space Organization
|
Floor Marking Type |
Ideas |
|
Floor Marking Shapes Ideas |
Use different shapes (e.g., squares, triangles) to highlight areas. |
|
Floor Marking Corners Ideas |
Mark corners with L-shapes to guide traffic and define boundaries. |
|
Floor Marking T’s Ideas |
Use T-shaped lines to direct flow at intersections or aisles. |
|
Floor Marking Circles Ideas |
Place circles to highlight key spots, like machinery or gathering points. |
|
Floor Marking Arrows Ideas |
Use arrows to guide people or vehicles along specific paths. |
|
Color-Coded Floor Tapes Ideas |
Use different colors to distinguish zones, like red for hazards. |
|
Floor Marking Footprints Ideas |
Mark walkways with footprints to guide pedestrian traffic. |
|
Temporary vs Permanent Markings Ideas |
Use temporary marks for short-term needs and permanent for high-traffic areas. |
Conclusion
Incorporating Floor Marking Circles into your facility isn’t just about safety—it’s about efficiency, visual clarity, and maintaining order. These simple, circular visuals help teams navigate, respond to hazards, and maintain 5S discipline with ease.
Thanks to reliable suppliers like Archford, implementing professional-grade markings is easier than ever. Explore their extensive line of durable and compliant markers to create a safer, more productive work environment.
FAQs
Can floor marking circles be used with other shapes?
Absolutely. They work well alongside arrows, T’s, and corner markers for a complete system.
What’s the difference between painted and adhesive circles?
Paint is more permanent, while adhesive circles are quicker to install and easier to replace.
Do I need to prep the floor before applying the circles?
Yes, cleaning and drying the floor are crucial to ensure adhesion.
Are floor circles suitable for outdoor areas?
Some are, especially those designed with UV-resistant materials or paired with warehouse line marking paint.
Can these markings work on epoxy or polished surfaces?
Yes, but ensure the surface is clean and test adhesion strength beforehand.


